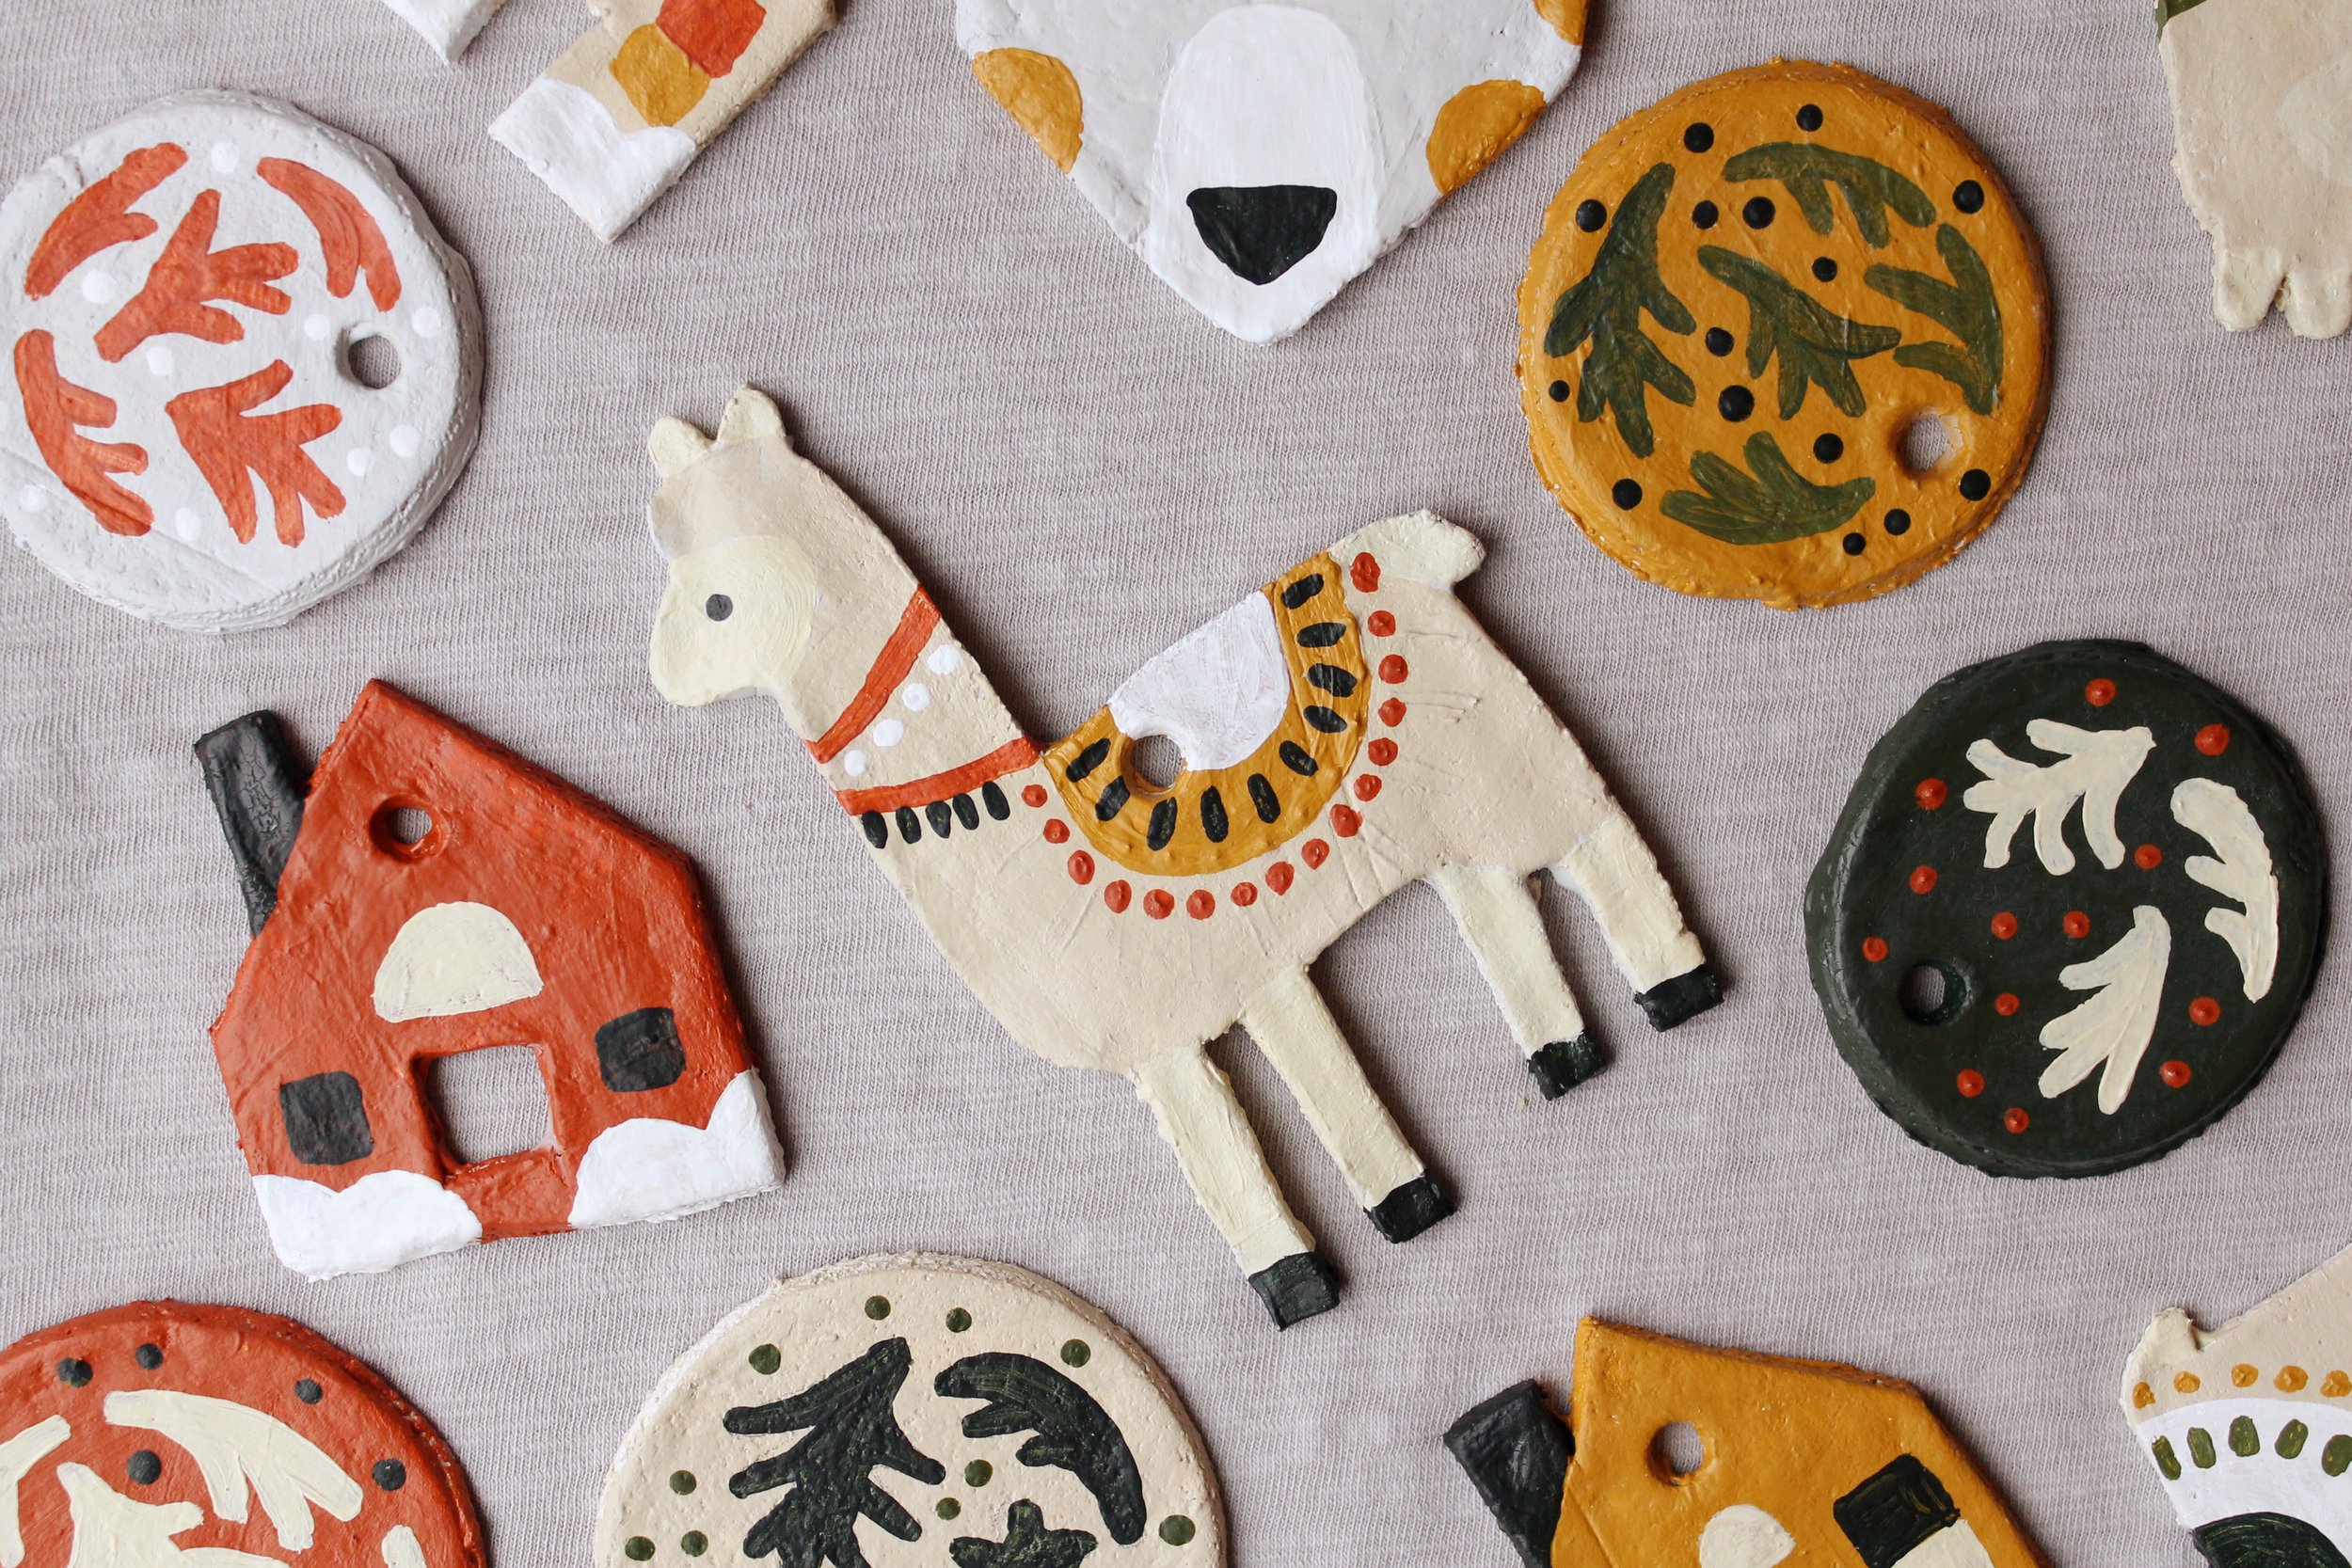
Salt Dough Holiday Ornaments
Start a new tradition of making salt dough ornaments with your family and friends. You won’t regret it! Find a peaceful moment to create something beautiful or have a fun afternoon crafting with your kiddos. I created the ornaments below with the recipe from Maria Louise Design’s blog. For her instructions, go to her website. For my instructions, scroll down!
SUPPLIES
2 Cups All Purpose Flour
1 Cup Salt
1/2 Water*
1/2 Cup White Acrylic paint
Colorful Acrylic Paint
X-Acto Knife and Scissors
String for hanging/tags
Printer (optional)
Rolling Pin
Straw
Modge Podge
*I added little amounts of water as I kneaded the dough so it wasn’t too dry.
Instructions
Combine the flour and salt in a bowl.
Mix the water and paint in a separate bowl.
Slowly combine wet and dry ingredients and knead the dough for a few minutes. I adjusted the ingredient amounts until it felt right. Too sticky: add flour. Too dry: add water. It is not an exact science!
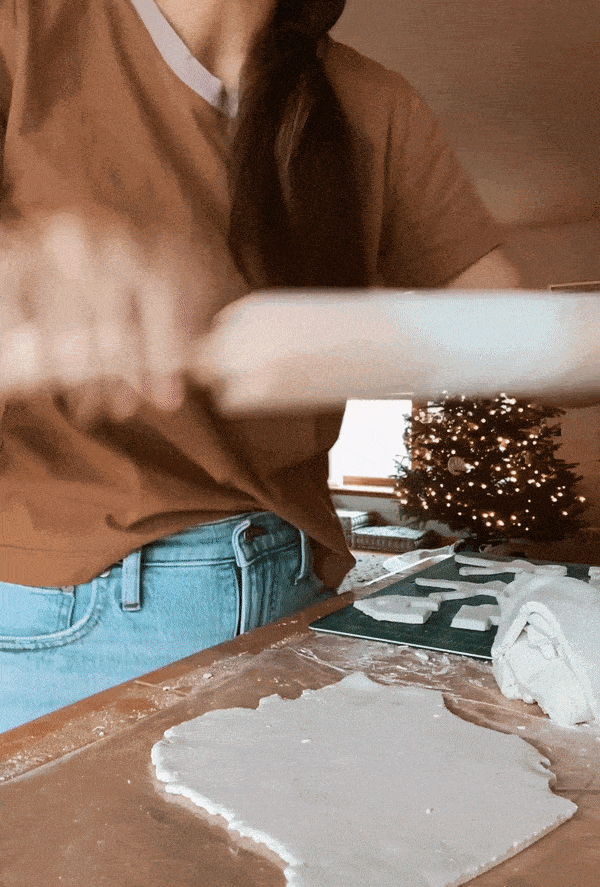
Roll out the dough flat with a rolling pin. Make them really thin so air drying works.
Print and cut out pre-designed shapes as a template if you desire. I used a cup for the circles. Or freehand it!
Use a x-acto knife to cut the shapes out of the dough.
Poke holes in them with a straw.
Let air dry for a 1-2 days or longer if you can wait. (I don’t bake them)
Use a variety of colors to add life to your designs.
Seal with modge podge.
Put string through the hole and use them how you wish!


These designs are actually from last year. My plan is to create more this year, so follow along online to see!
Update: 2022 ornaments turned out awesome. Scroll down to see and download a shape template for free.


